
We are blessed with a cute little prince on March 10 . My 4 yr little princess is more happy and excited with the arrival of the little prince . Hope to catch up you friends as early as possible .
Take care
Cheers,
Shama Nags


 MATERIALS NEEDED :

 Rainbow with crepepapers .
 Tree collage with crepe paper . We glued white crepe paper for Trunk and then watercoloured it .
  Sun with waste tin cap and crepe paper .
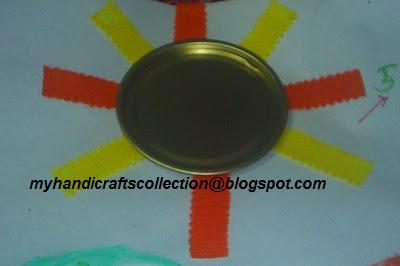

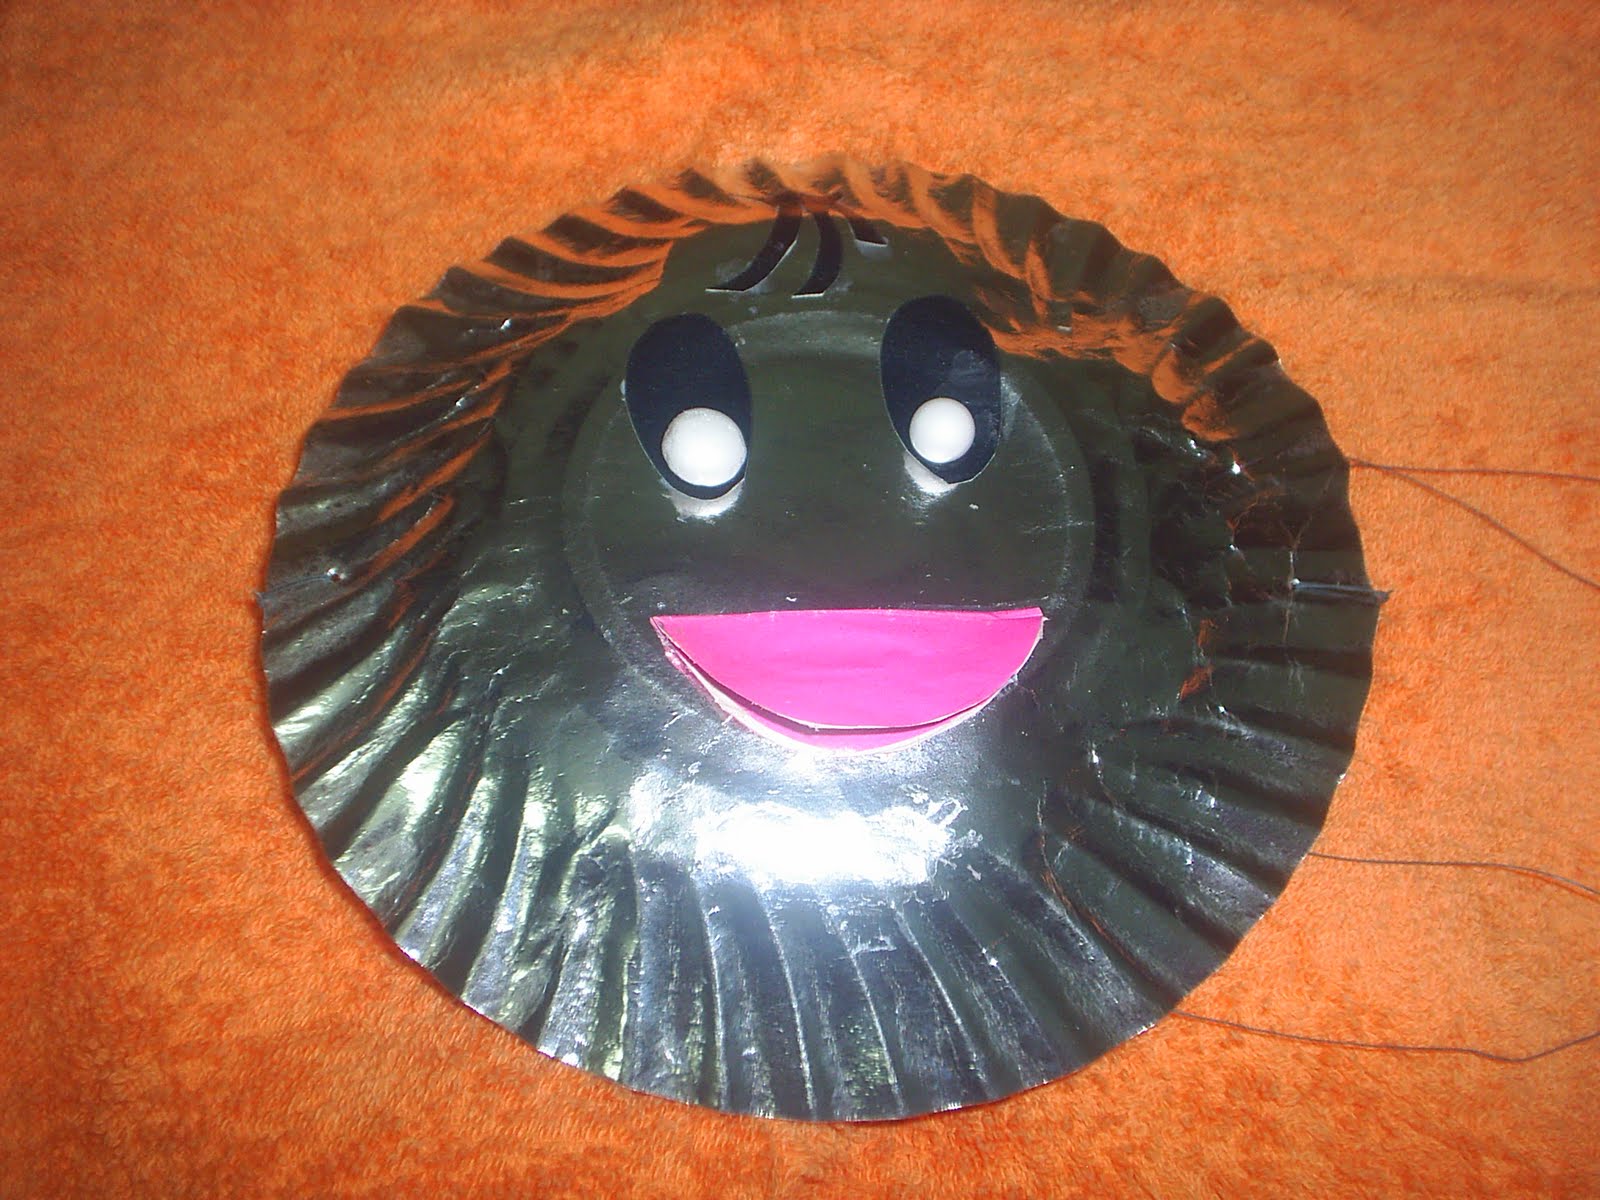
 4) Then , stick oval stickers for eyes , beak with black paper and draw mouth .


